As a side note, I never quite know how to answer the question "When do you guys think you'll move in?" until now. So, for anyone who has asked, will ask or even though about asking: As soon as we can purchase our new (and more importantly WORKING) appliances we'll finally move into our very expensive current storage unit. =)
BEFORE
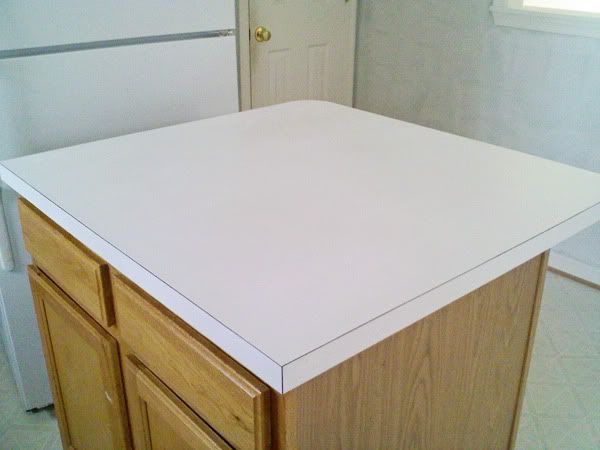
AFTER

To first answer the question many of you have asked, "How are your counter tops holding up?" ANSWER: Awesome! I am still so in love with my DIY project. The counter tops have not blemished after boxes and boxes of crap being moved in and unpacked on them, light fixtures and screws/hardware being set on them, and they have cleaned up so nice after all the torture they've been put through. I use a mild all-purpose cleaner or water and they still look great! They look AMAZING with the black island! The pictures don't do it justice.
Secondly, HOW COOL IS BEADBOARD WALLPAPER? I found it so easy to use. Sure, wood beadboard would be the way to go, but I had my entire island covered in an hour. I just don't think that would have been as fast and seamless with actual wood.

I first tackled the island itself. I measured from top to bottom and covered the island starting from the left side. The instructions talked about making a plumb line and working from the center out, but that just seemed like extra measuring to me! I only needed about 2" section to complete this side of the island, which I later "spackeled" for a more seamless look. You'll notice I didn't remove the corner molding on the sides of my island. The wallpaper either fit seamlessly,underneath or I used spackle to mask any holes. If you measure and cut straight however, you should need to spackle very little.
After I covered the island, I went to work on the facing of the cabinet doors. I measured the insert and added about 1/8" so I would have clearance to tuck under or slice with my knife. This may not work with your cabinets, but mine slid under ever so slightly and it looked seamless.

A few helpful hints: If you plan to trim your wallpaper after you've applied it to the surface, make sure you are using a VERY sharp blade. When the wallpaper becomes wet it can easily rip if your blade is dull. Also, follow the instructions of letting the glue "activate" for 5 minutes before applying it to the surface. This will ensure a good, strong hold.
I allowed the island and cabinet doors to dry for at least 24 hours.


The next day I began painting! I used Valspar Black Paint in a Gloss finish. This can be picked up right off the shelf and doesn't need to be mixed. I lightly sanded the wooden areas still exposed with a medium grit sandpaper, just to help the black adhere to the surface. I used a normal, 1" brush to first get into the grooves and molding on the 4 sides. I used a 3" yellow foam brush for everything else. I find that foam brushes go on evenly and don't leave brush strokes. I did two coats, allowing each to dry 24 hours.
Can I just say if you're thinking of doing this to your entire kitchen - DON'T. Painting beadboard is a lot of work! Getting into each and every groove was so time consuming. It took me over an hour just to paint my island and the drawers. I can't IMAGINE the work that would be involved in doing an entire set of kitchen cabinets. I am glad I rethought my idea of originally painting the entire kitchen.

I also added hardware to my island. I wanted brushed nickel, and I knew I wanted a "cup" pull for my two drawers. I spent a little more than I probably needed to - $4.98 for each cup and $3.98 for each knob. But I love them! I created a template out of paper to ensure each drawer and cabinet would match the other and drilled accordingly. A piece of paper, pencil and measuring tape got the job done!


I love it! So, to review:
Wallpaper (50 sq. ft) - $25
Black Paint - $8
(2) Drawer Pulls - $8
(2) Cabinet Knobs - $10
Foam Roller - $3
1" Brush - $2
Total - $56
I'm so impressed, Kel! It looks great! (Maybe you'll get your own show someday.) =) Can't wait for the grand unveiling!!
ReplyDeleteThat looks awesome!!! You are so clever, Can't wait to see the rest of the house!
ReplyDeleteIt looks great! I'm gonna have to buy some beadboard wallpaper. :)
ReplyDeleteYOU ARE AWESOME! I love that you keep track of everything and breakdown how much it cost you. You're amazing! It's also really good that you're getting so much done before you move in. Things sure slowed down after we moved into our house. Keep going! I love what you've done so far and can't wait to see you're whole kitchen!
ReplyDeleteThat looks awesome Kelli! You are so crafty-- I just steal other's ideas so keep them coming! haha
ReplyDeleteHey Kelli, this post will be featured on my blog tomorrow as my favourite makeover project from last week's Sharing Time. Just wanted to let you know! :)
ReplyDelete~Heather
That looks fabulous! Have a great time at the beach!
ReplyDeleteI'm looking back through your older decorating posts and just LOVE this project! A relative of mine was just asking if I had seen this wallpaper used and I was able to refer her to your post!
ReplyDeletejust wondering how the wallpaper held up
ReplyDelete